I needed special buffers, not existing as a model any more. A friend had some models, so copying them was the only possibility. This was a very good reason to try casting low-melting metal.
There are many different low-melting alloys, the best known is solder: A lead and tin alloy, mostly a 60/40 mixture. It melts at 250°C. There are other alloys with lower melting temperatures, of which the very toxic Woods Metal (67°C) is known by illusionists.
Since a couple of years, due to its health hazard, lead is no longer allowed in plumbing and industrial electronics.
For plumbing, an almost tin-only alloy is used. I didn't experiment with this metal. Feel free to try it and tell me the results!
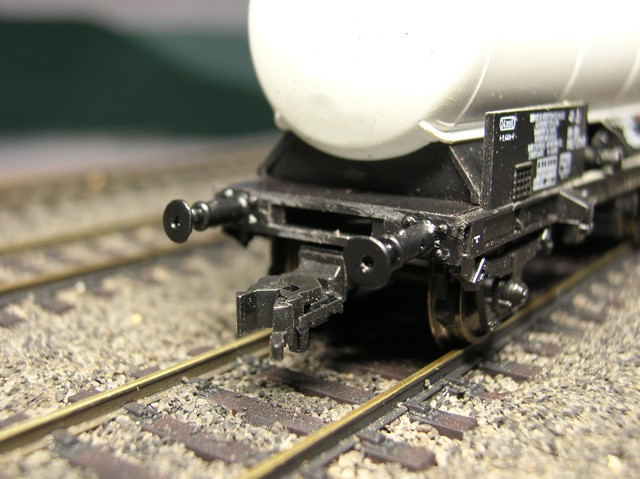
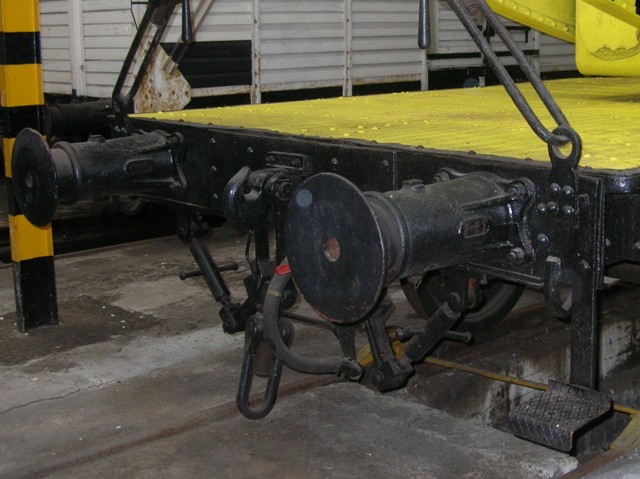 The buffers I wanted to cast were used a lot in the fiftees Belgium, especially on freight wagons. The photo shows the real ones on a museum wagon. |
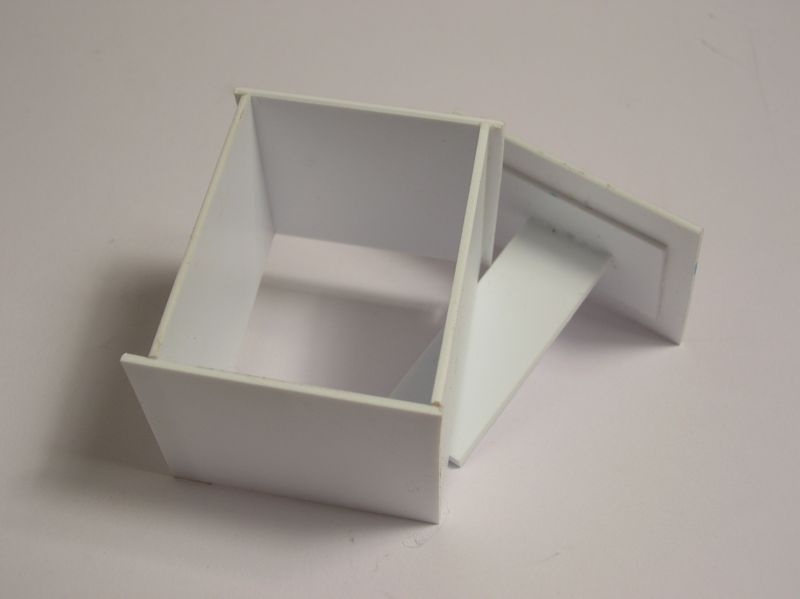
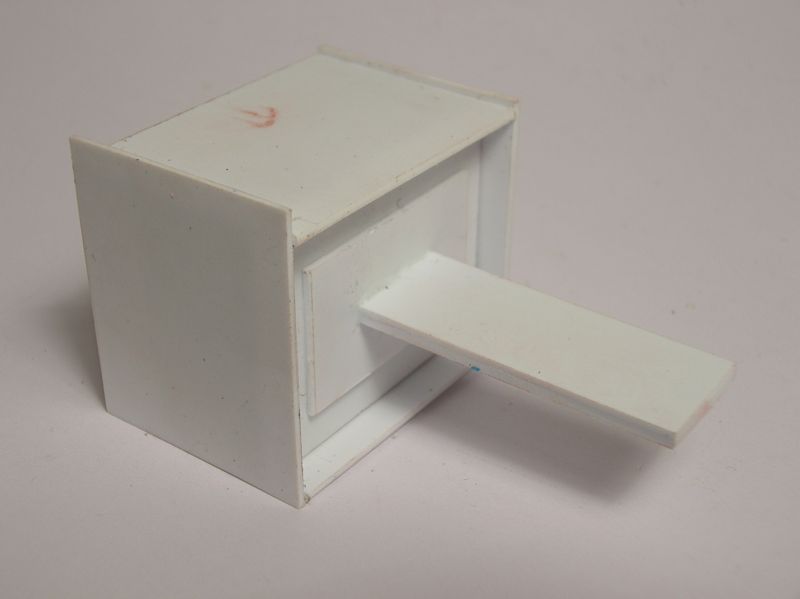
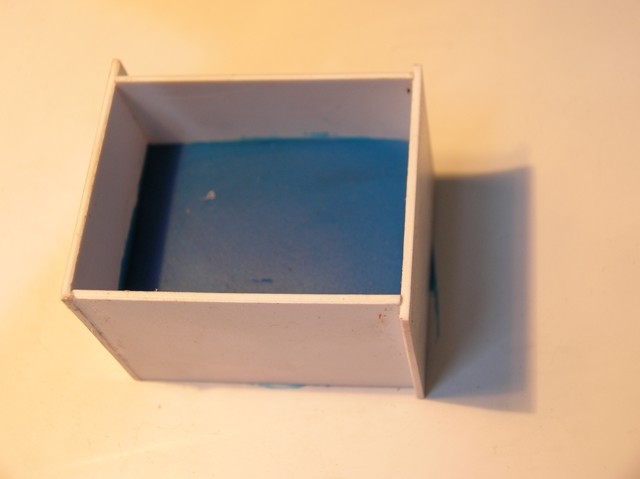 Some cheap toy clay was shaped into a sphere and placed in the open box and pressed to a smooth, flat surface. The mold case is ready to accept the models. |
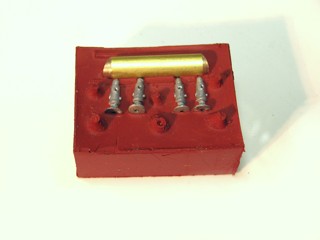
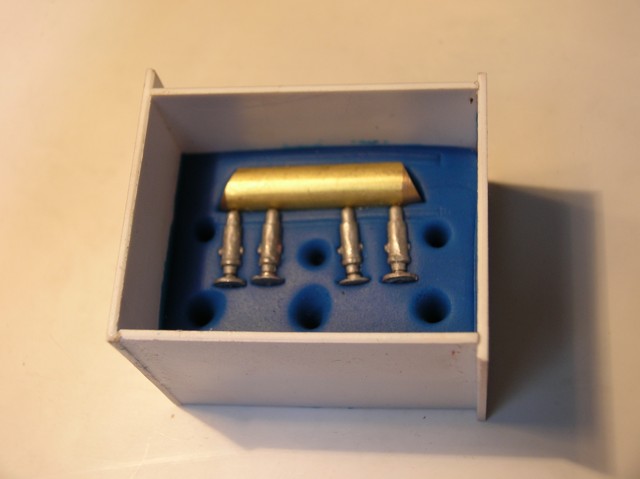 A rather thick tube is placed on top. This will distribute the cast metal into the actual model shapes, lined up to allow a smooth flowing of the hot metal. As this will be a two-halves mould, pits in the clay will ensure the second halve can be lined up nicely. |
|
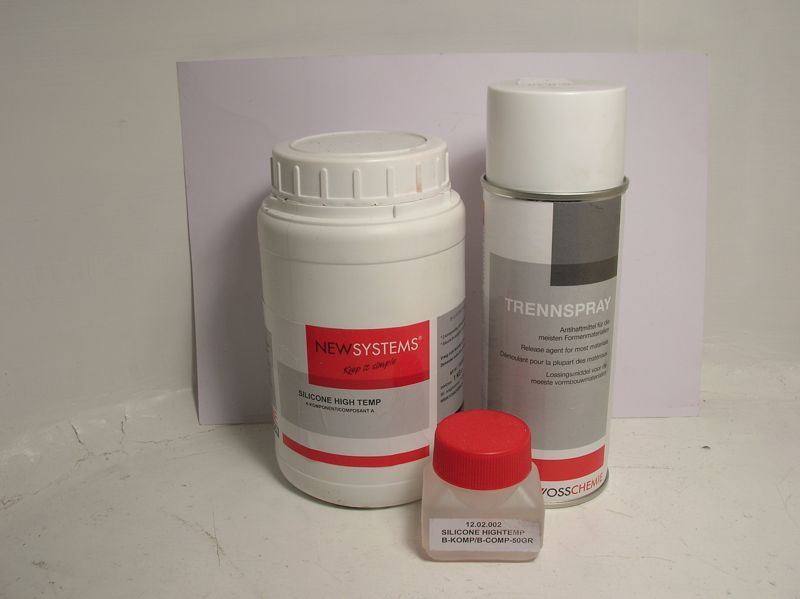
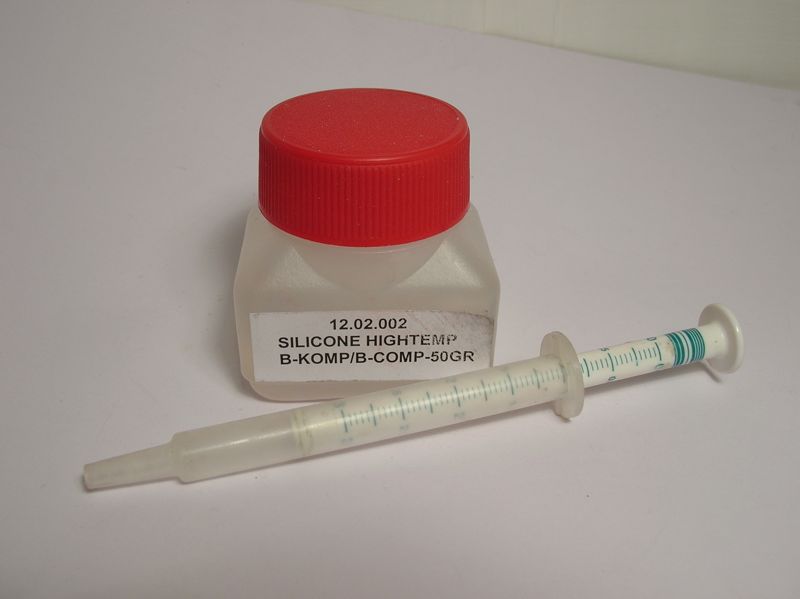 The siliconen rubber has two components, which have to be mixed in a 1/20 weight proportion. As I needed 18cc of rubber, this meant 30 grams of rubber, mixed with 1,5cc of hardener. |
|
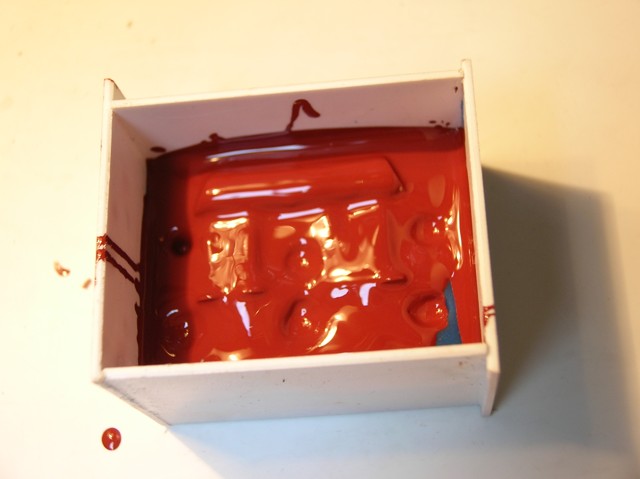
 After the first halve has hardened, we can push it out of the bottomlesss box, together with the toy clay and the master model. The mould halve can now be cleaned. |
|
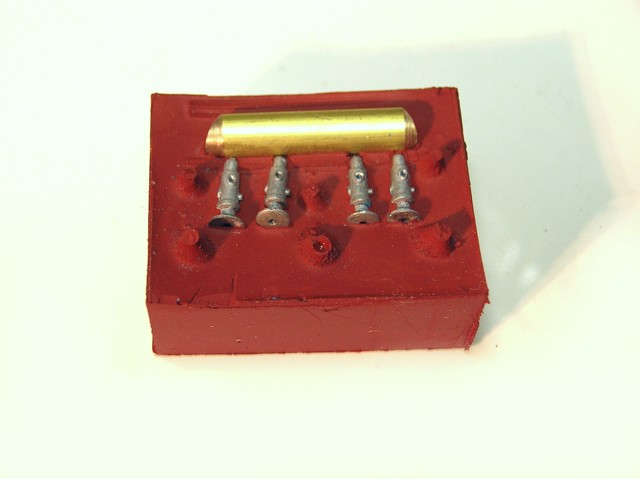
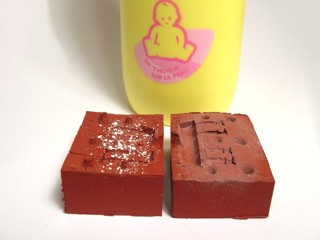
 After about six hours both mould halves can be pushed out of the styrene box. The moulds are cleaned again: the wax ans some error casting must be removed. We just need an shaped opening on top to fill the mould and some air channels towards the bottom to allow a smooth and complete casting. |
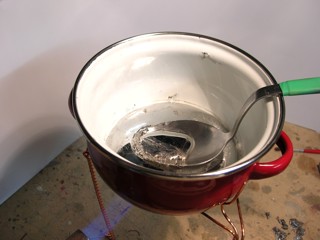
 As the needs to flow as smoothly as possible, we use talc powder, spread with a soft brush in every corner of the mould. We need of course the metal itself to cast copies. Tin/lead mixtures are the best to use. I used some old plumbers solder (55/45). |
|
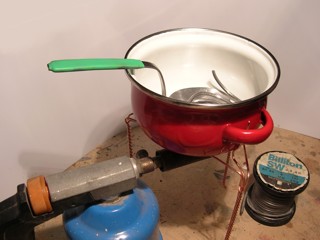
 As the metal melts, the mould can be placed in a clamp. The vibrating device I made earlier is very useful in the upcoming casting proces. |
|
|
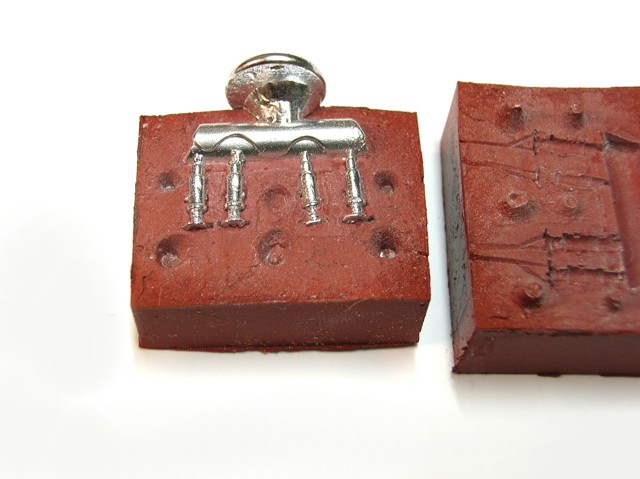
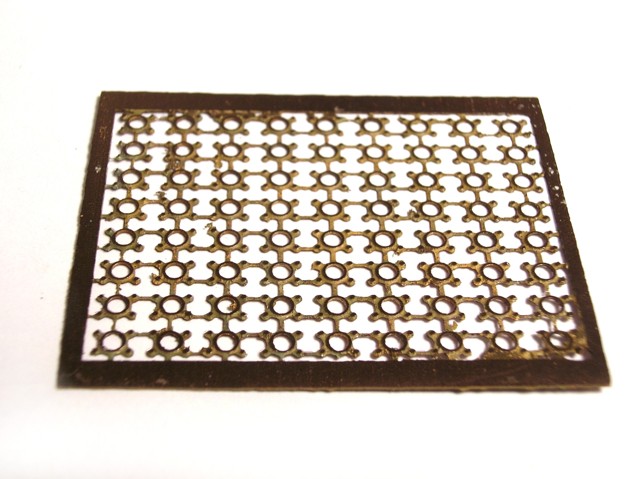 The plates between the actual buffers and the car's frame are etched. Some filing might be needed, but surely most plates will be quite useable. The etching process isn't part of this story, so it isn't described now. |
|
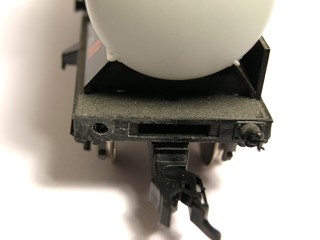
 The flat buffer should be placed at the right side, so prototype pictures are needed. |
Casting metal isn't really trickier than casting resins. It's easier, as we don't need to mix any components in the right proportion. It's more difficult, as we're dealing with hot substances. This means: be cautious! I want you to enjoy our lovely hobby for a long time!
| ©2008 Gerolf Peeters - updated 18.05.2008 | See: Soldering - Etching |