Old-style gas lanterns

Home-built, of coarse ...

This appeared in Modelspoormagazine 97 (november '10). More text and pictures can be found there ...

When you want several identical lanterns for your layout, home-building is definitily and option. The cost difference can be very large, and you can build your own type of lantern. Moreover, it isn't that hard to do...
Nice factory-made lanterns are expensive. When calculating the materials that are involved, the difference is tremendous. You don't need specialized tools to build them: a good soldering iron, a minidrill, preferably an airbrush, ...


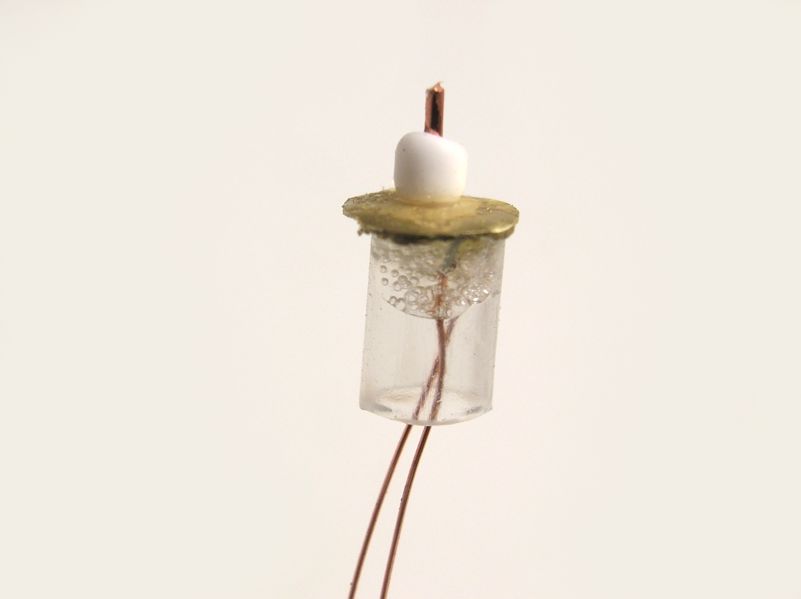
It's a basic building method: A thin tube has enough room for two very thin wires and holds some ornaments. The light source is placed in a transparent tube, with a nice cap on top.


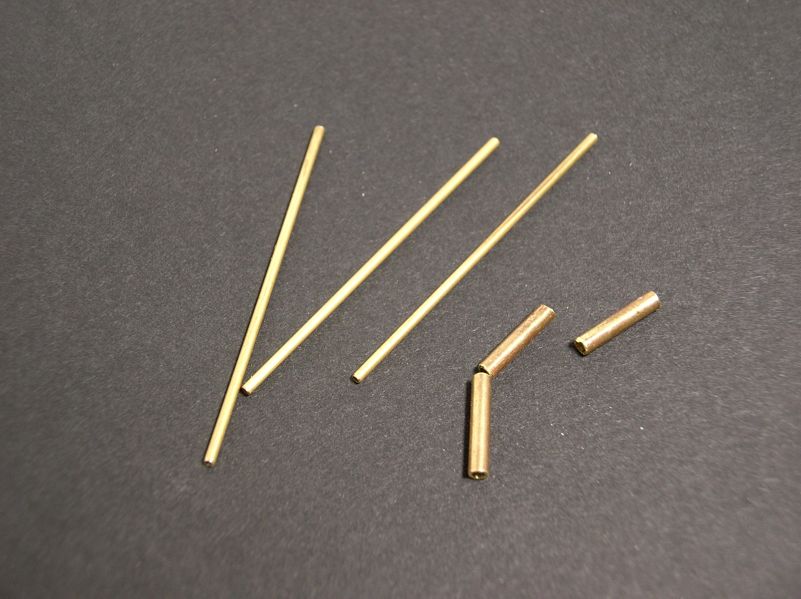
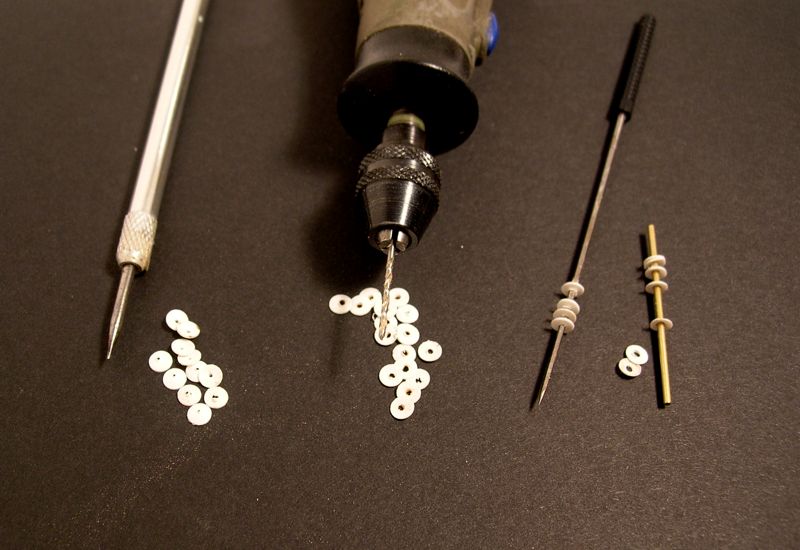
I used the narrowest tubes I could find. The slightly thicker one will make it easier to insert the lantern in the layout. This should have at least the length of the thickness of the layout base it will be mounted in. The thin tube should measure at least 1 cm more then the desired height of the lantern base. Cutting is done with a disk in a minidrill, and the same disk can be used to soften the cut edge.


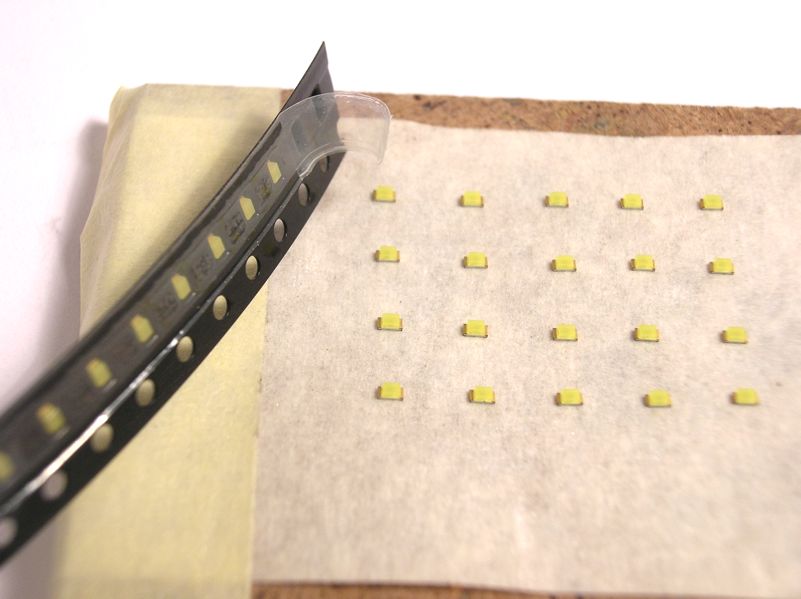
I used the very small SMD's: white 0603-sized ones. These have surface dimensions of 0,75 to 1,5 mm. To attach a wire to them, they should be fixed. Painter's masking tape is a good choice, as you can stick several smd's on them, at least long enough to solder some wires to them.


These wires are very thin enamel-lacquered ones, used for solenoïds. They are solid copper, and the outer layer is easily melted while tinning them with common resin-core solder. I used 10cm long 0,2mm thin wires.


Soldering these pre-tinned wires must be done as quickly as possible, not to damage the very-nearby smd chip. Paint a little soldering paste to the smd's connection surfaces, press the pre-tinned wire to it and gently touch the connection with a hot soldering iron. Test the result, and mark the negative lead with a black felt-tip pen.


To start "shaping" the lanterns, I used punches on both brass and styrene sheets The copper ones are 5mm, the plastic ones 4. The brass ones need a bit more force, so use a small hammer.


By punching the brass, it will get a slightly hollow shape, and that's just fine. I found some small pearles in the children's toy shop, perfect to glue a little ornament on top of the future lantern hood.


The lamp's “glass” is made from a 4mm transparent tube, cut to 6mm lengths with NWSL's “The Chopper".


To avoid short-circuits aginst the copper hood, fix it on the glass first, using " too much" glue. After applying some glue to the smd's back, insert it into the lantern's top part.


The styrene disks get a center hole using a sharp marker and a mnidrill The hole should tight-fit the brass lamp post. This way, we can easily adjust the location of the ornaments before fixing them.


The lower disk is attached first, to acquire an equal height for all lanterns in the small-series production. Using some other small partss, I got a "special" design. With alll parts positioned, apply some cyanoacrylate glue to fix them.


The lower part is airbrushed to keep the details visible. Next, the hood is glued and some painted thin lines imitate the masonry on the glass. I used “Engine Black” from PolyScale.


To place the lantern, the thicker brass tube is glued inside a drilled hole to get a smooth "inside" surface. The thin wires are conected to a DC-powersource, using a suitable resistor.


Making 20 of these lanterns, I "earned" about 300 Euros in 2 days. That's the price difference between buyng 20 similar ones, and the cost of their parts. Moreover, I now have some unique models...

©2010 Gerolf Peeters - last changed on 05.12.2010 See: tubelights - city hall - semaphores